How to use the Calendar widgets in Connect App Builder.
How to add calendars in Connect
Before you begin adding a calendar widget to display data from your connected calendar. Consider which calendar widget will best display your data.
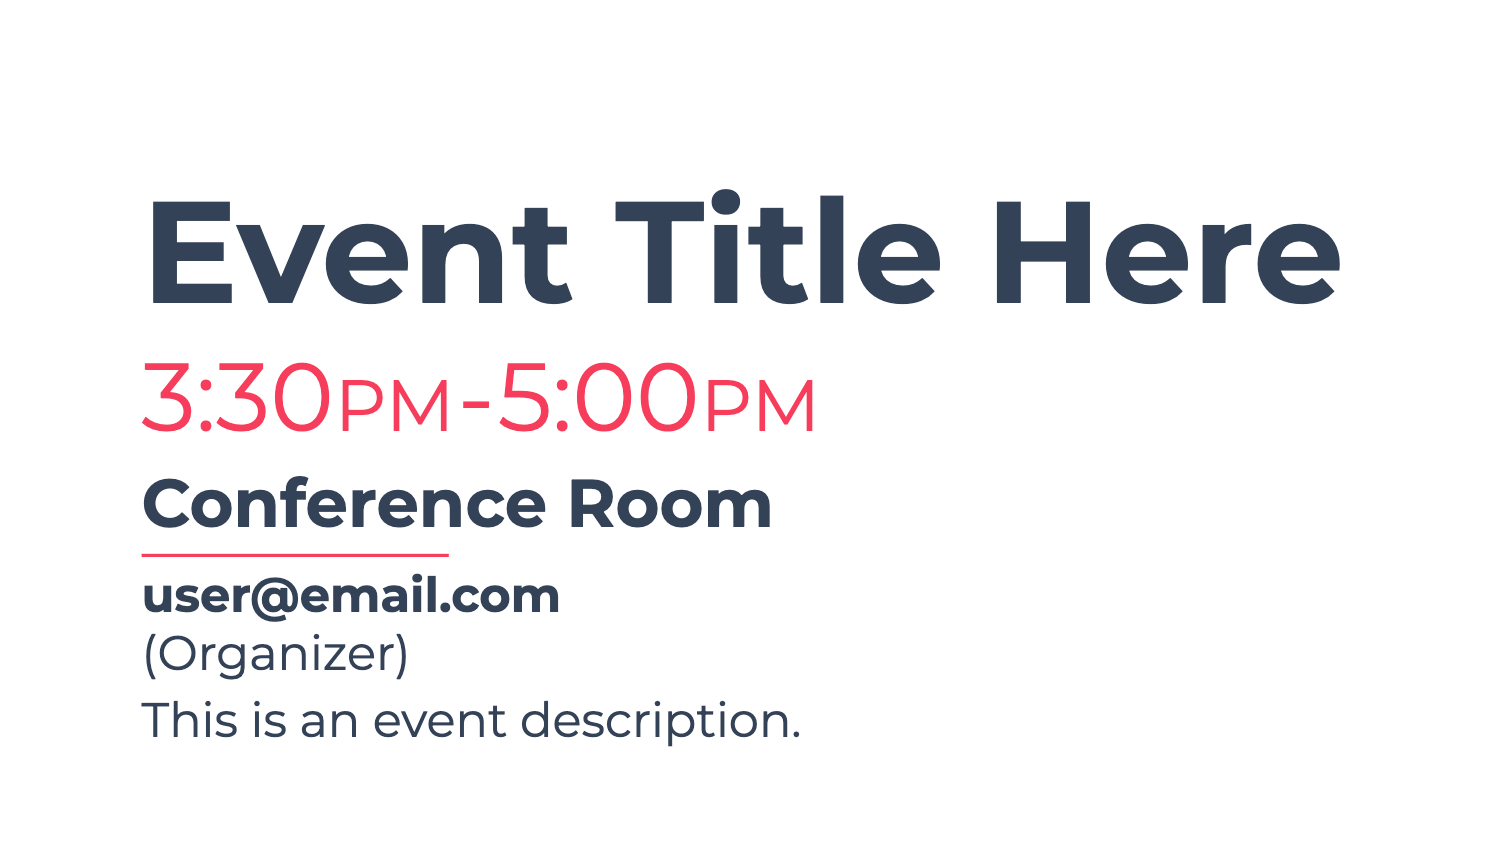
Event shows the details of a single event, either from a Google calendar, Microsoft calendar or ical data connection.
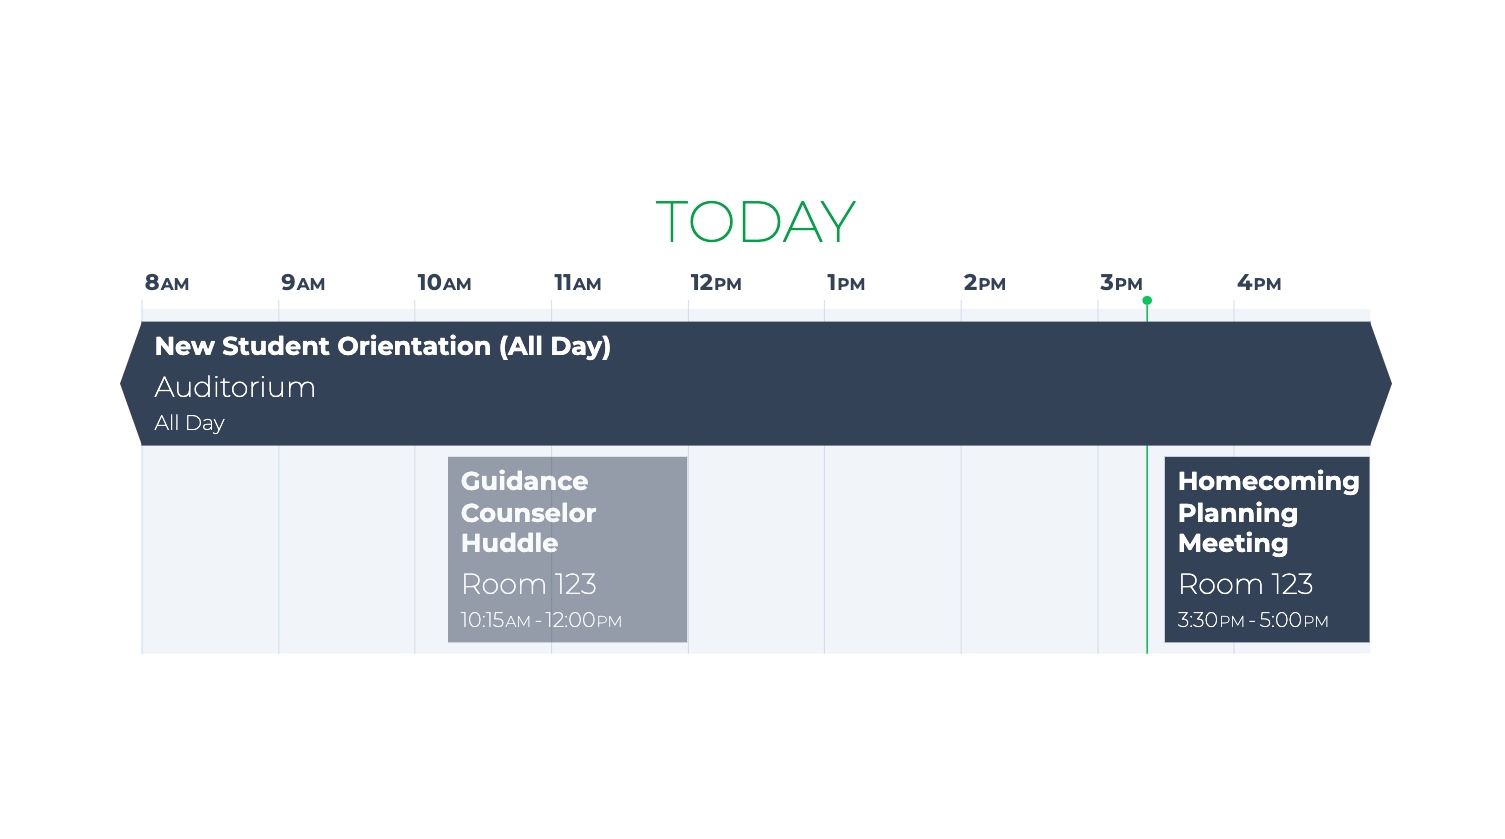
Day shows a list of events over a given period of time for one day in a horizontal format. You can set the Day widget to show either events from today or up to three days in advance.
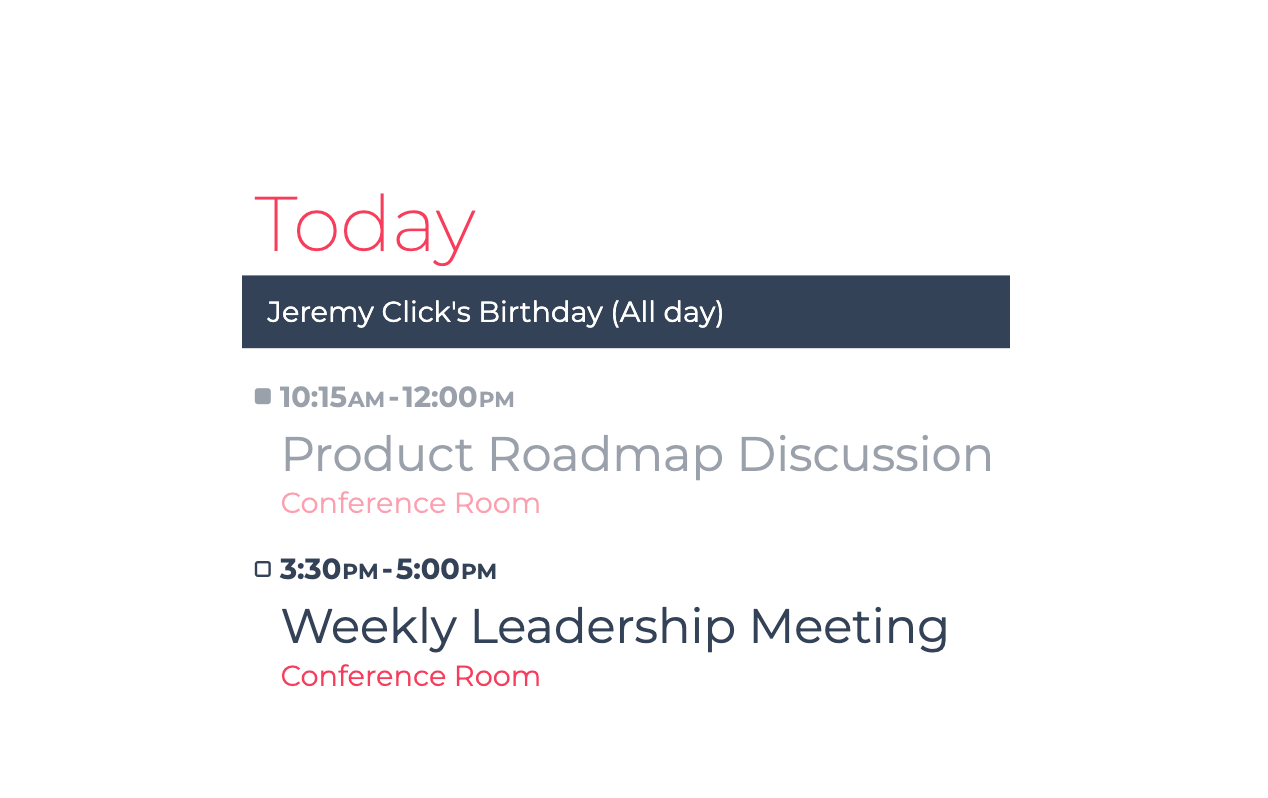
Agenda shows a list of events over a given period of time for one day in a vertical format. You can set the Agenda widget to show either events from today or up to three days in advance.
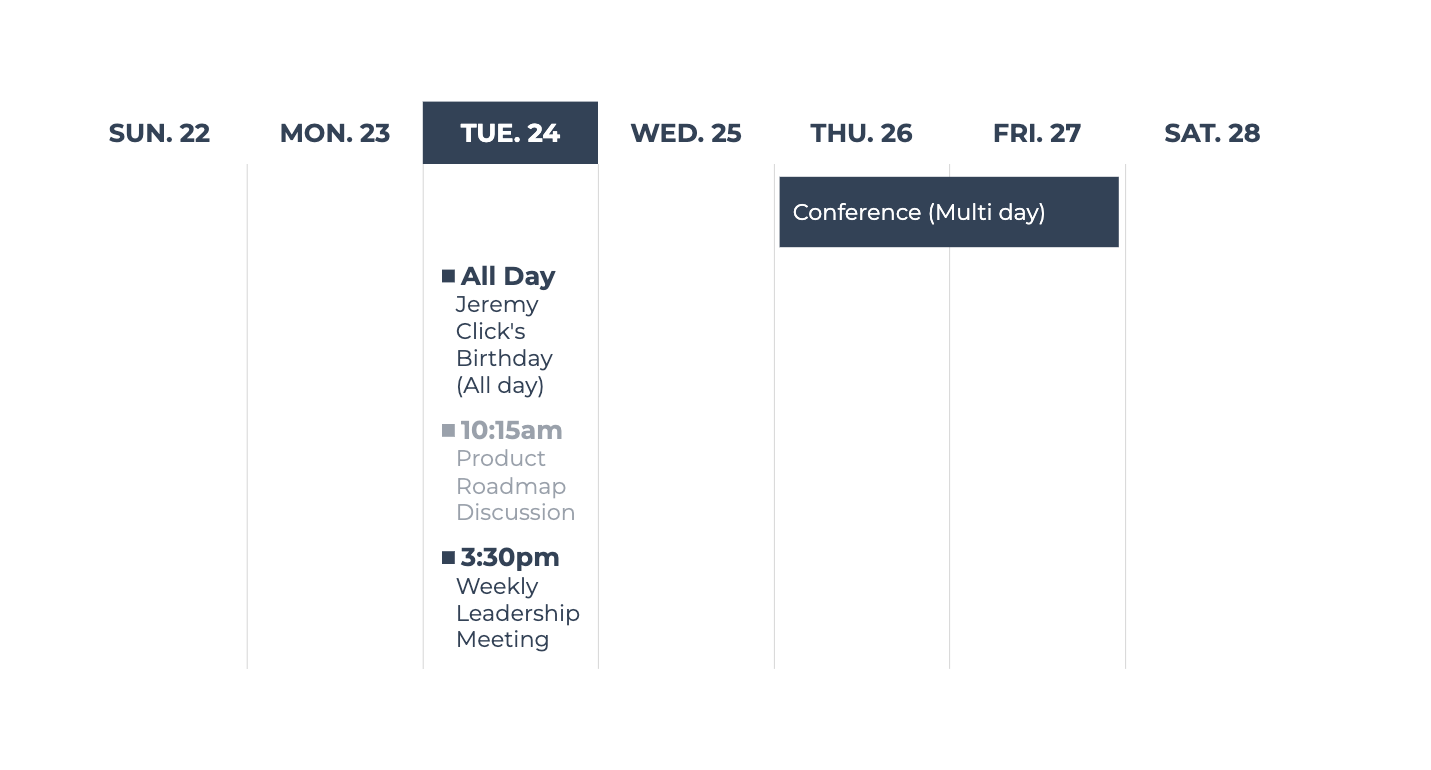
Week shows multiple events over a week in a horizontal format. You can set the Week widget to show either events from the current week or up to three weeks in advance.
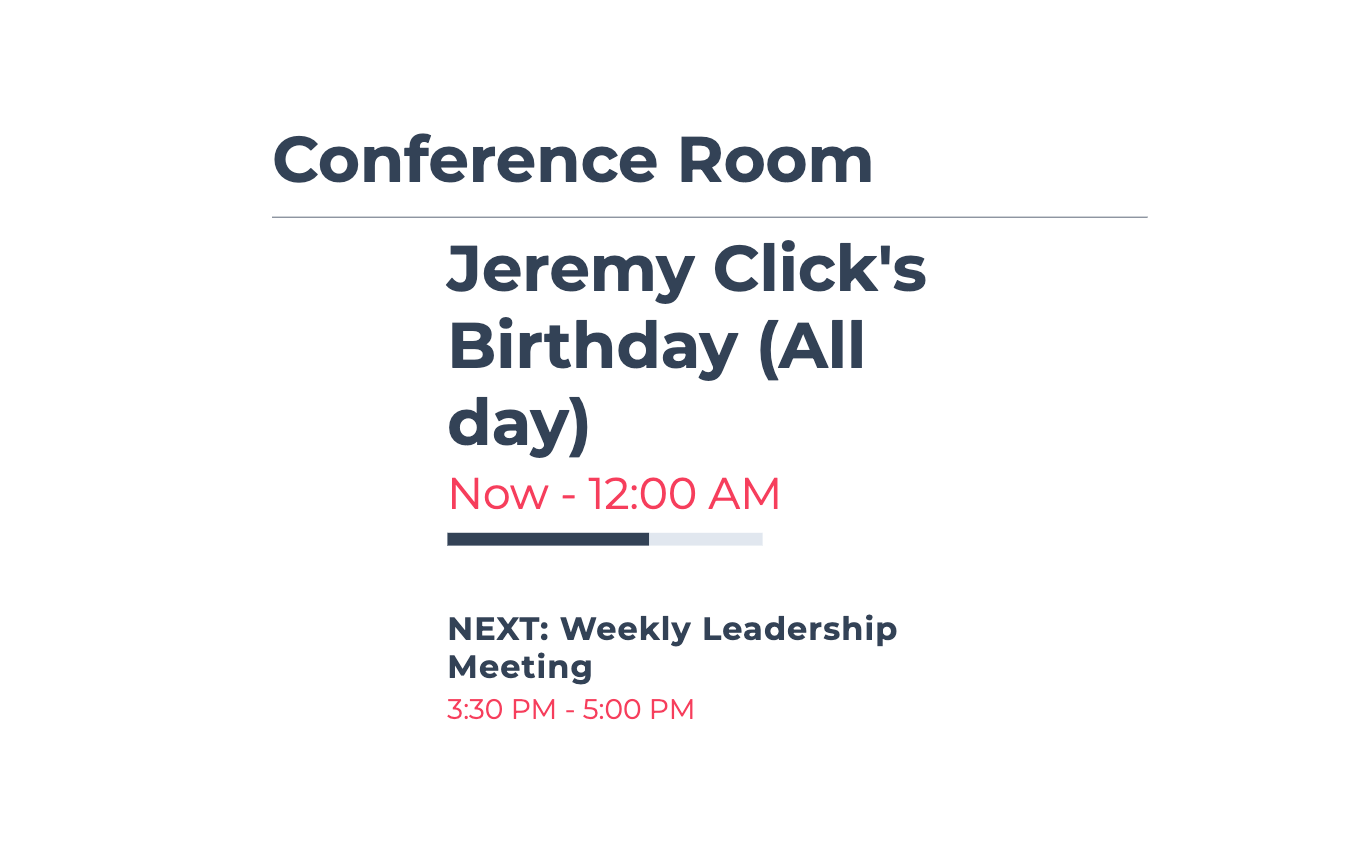
Room Schedule is intended to display events associated with a specific location or room. It will display the next two upcoming events for the location in a vertical format.
First either open an existing app in app builder or create a new app. Follow this link for more information on creating your first app.
Calendar widgets require a data source; Google calendar, Microsoft Calendar or an iCal URL. Make sure your iCal URL is publicly accessible, or your user has full access to the Google calendar you wish to use.
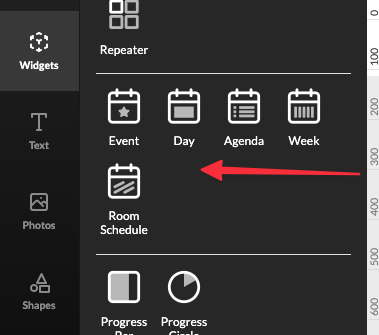
Click on the Widgets option in the left menu in app builder.
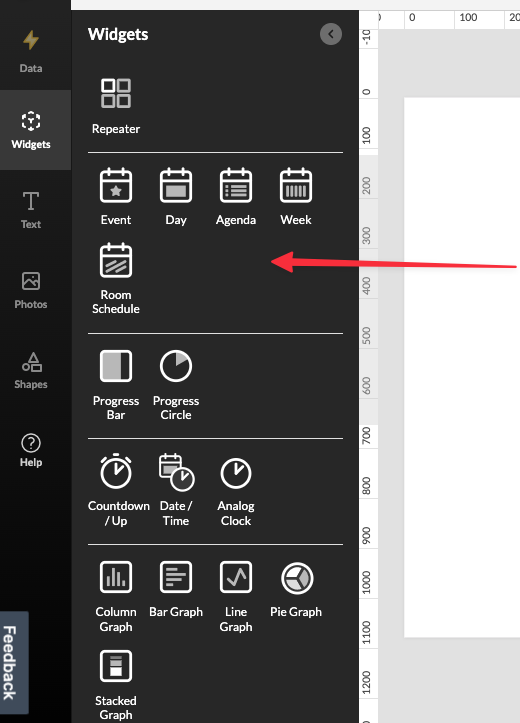
Click on a widget in the calendar section to add it to the app builder canvas.
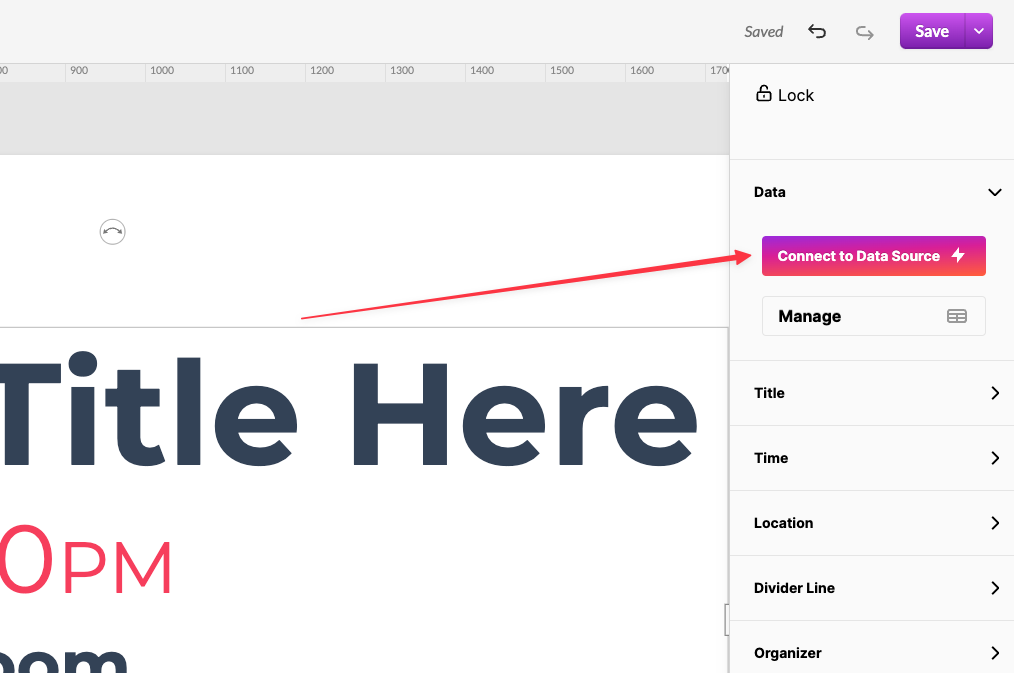
With the calendar widget selected on the canvas, choose Data from the properties menu on the right. Click on Connect to Data Source and either select an existing connection or create a new connection.
Follow these links to learn more about connecting to your calendar type. Connecting to google calendar, connecting to Microsoft Calendar, Connecting to an iCal Calendar
Once connected to your calendar, the event(s) should appear in the calendar widget.
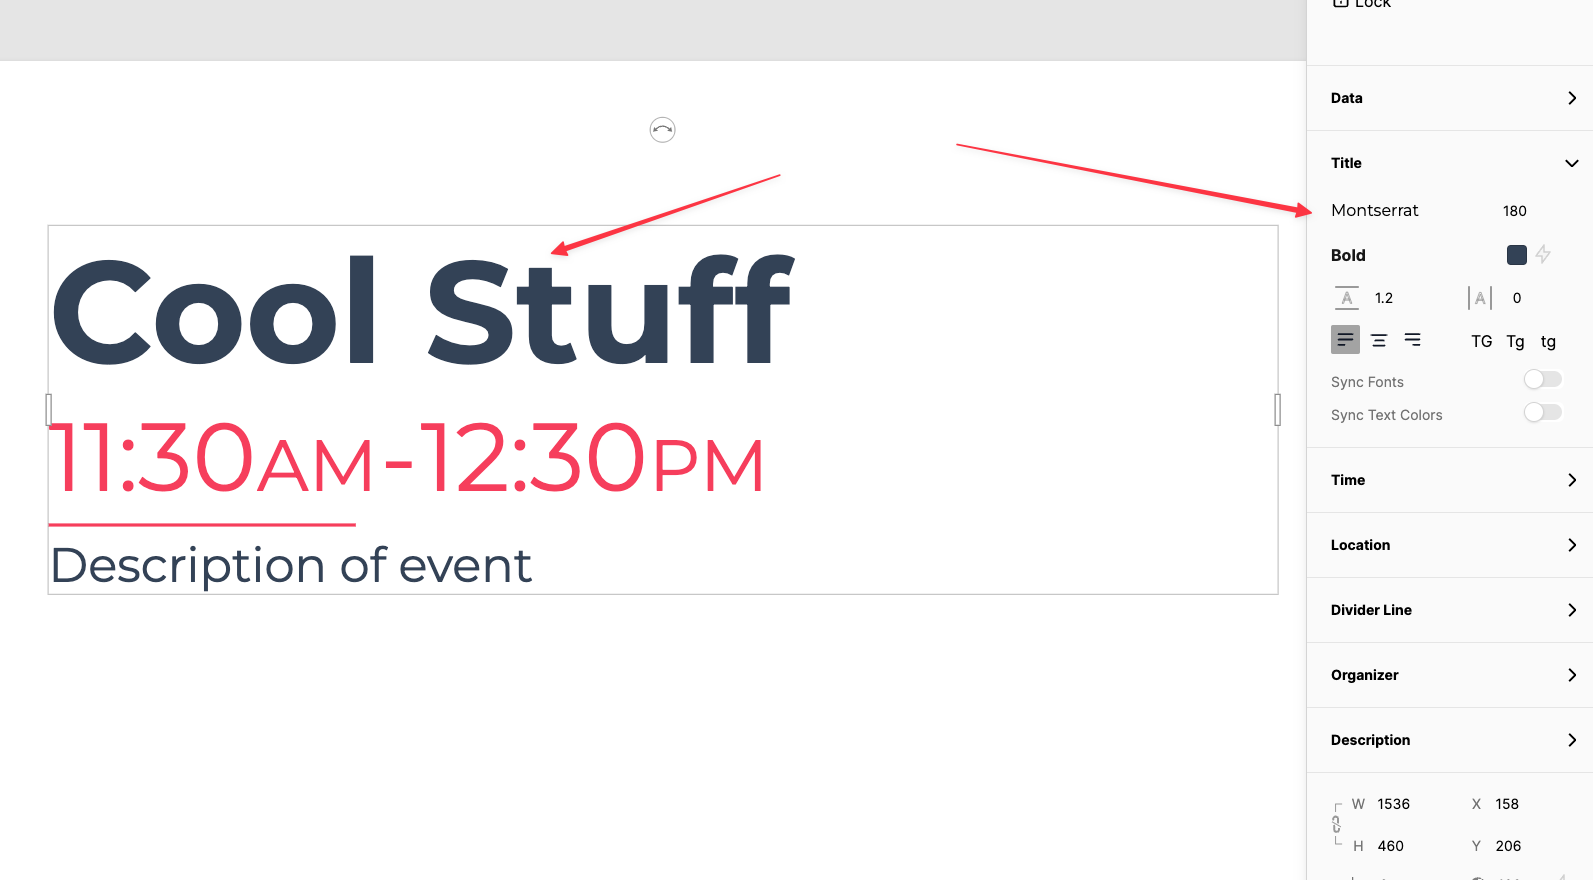
Select the calendar widget on the app builder canvas and the right hand properties menu window will appear. The properties menu is contextual and will show properties based on the component selected on the canvas.
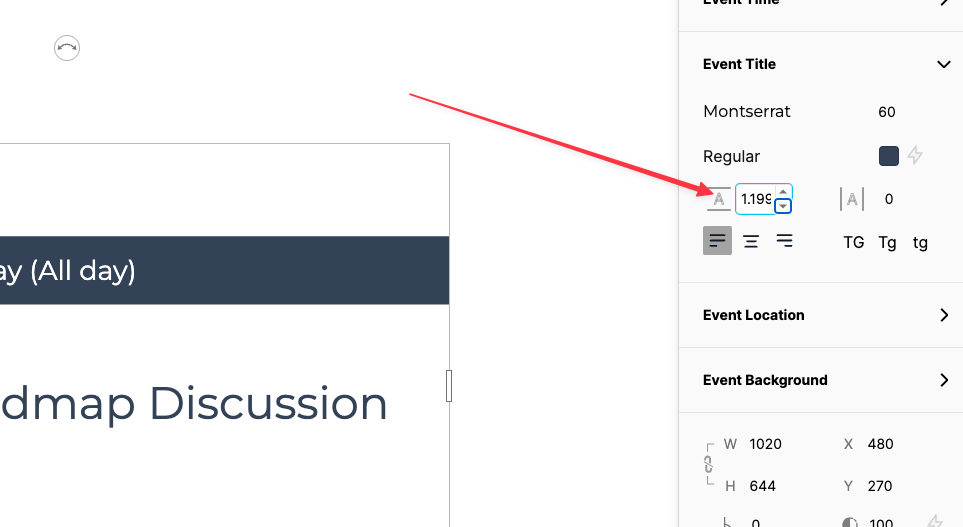
Calendar widgets have text properties that can be changed individually. For example; Click on the Event Title label in the right hand properties menu. Click on the corresponding text properties to change the font, font size and font style of the event title. Follow this link for more detail about Text in Connect
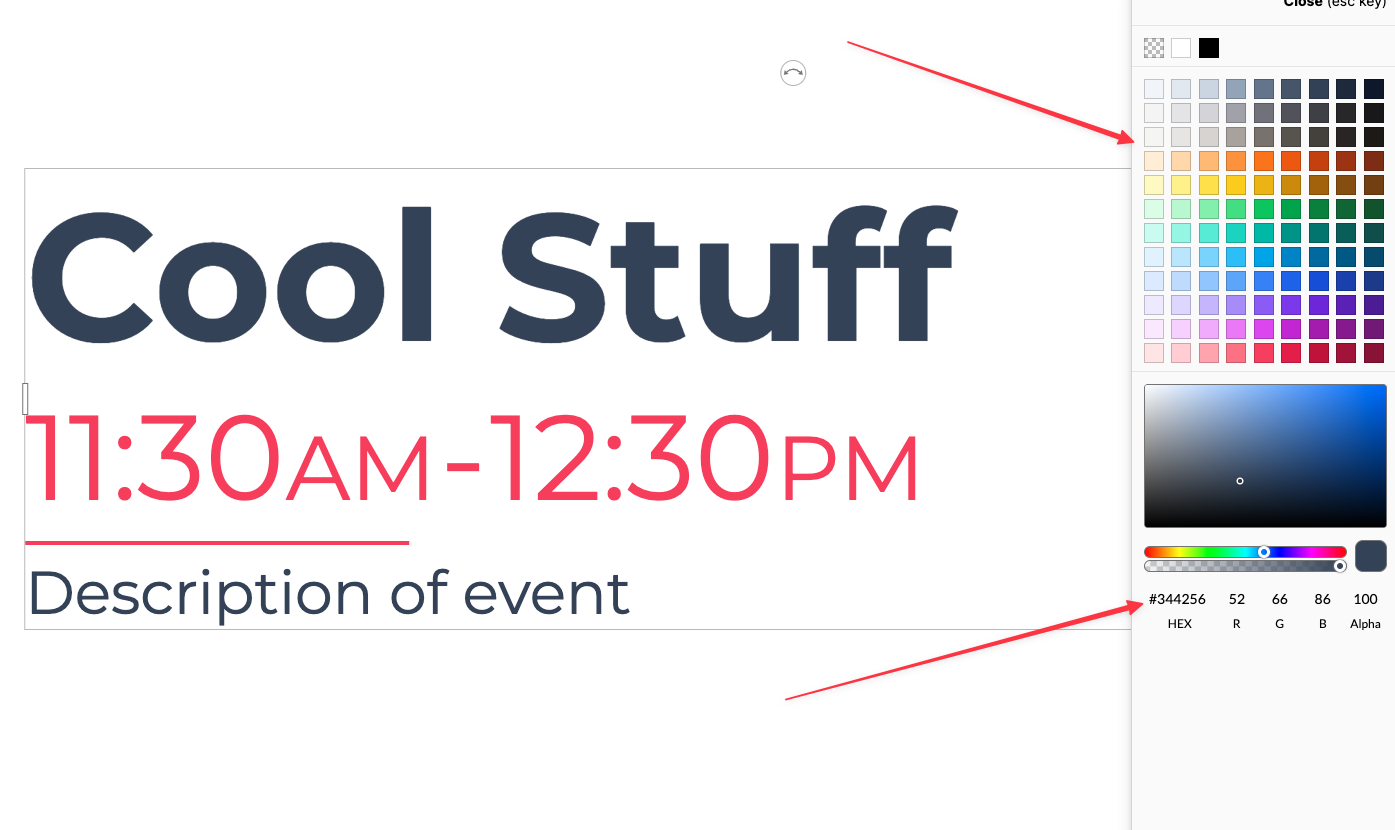
Change the color of the text by clicking on the swatch next to the font style, then choosing from the color picker or entering in a hex code.
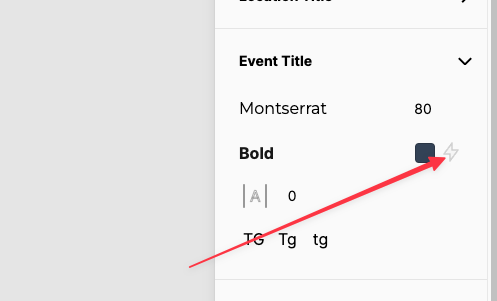
Alternatively, selecting the lightning bolt icon next to the color swatch can connect your text color to a data source. Follow this link to learn more about connecting to a single data value
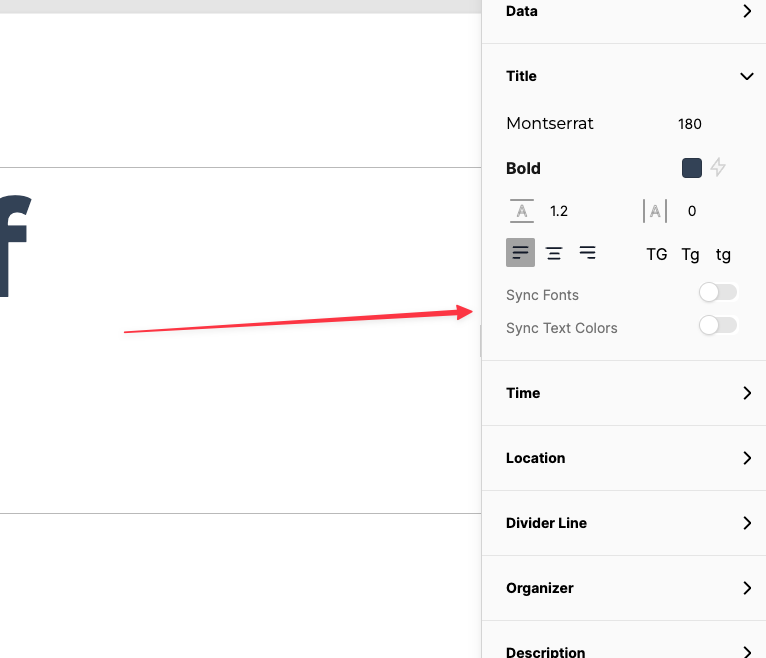
Rather than change each text property in the widget individually, choose Title in the right hand properties menu and select Sync Fonts for all text to have the same font. Choosing Sync Text Colors will change all text to the same color.
Some text properties are capable of multiple lines of text and text alignment. In the Agenda widget the Event Title property has the option for line height and text alignment. Enter in a value or click on the corresponding arrows to for the Line Height of the event title to add additional space between your event title and the location of the event.
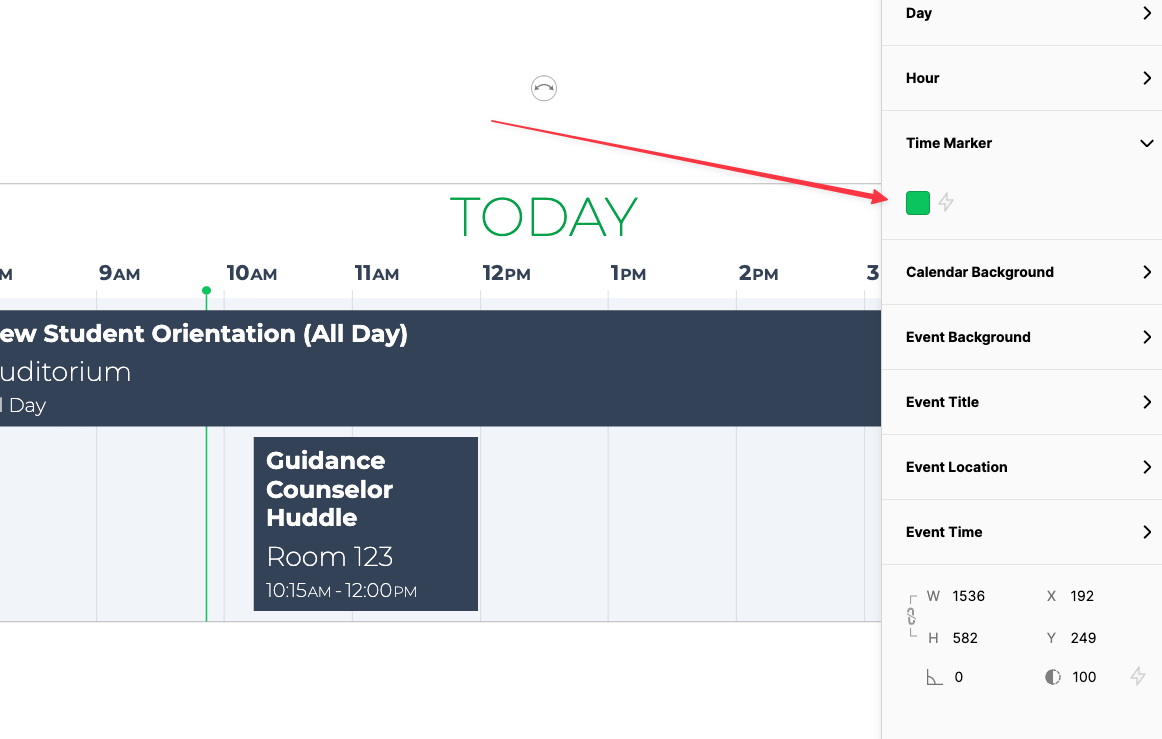
Several calendar widgets have properties that only allow color adjustment.
For example; the Day widget Time Marker. To change the color of the time marker click on the Time Marker label in the widget properties menu on the right.
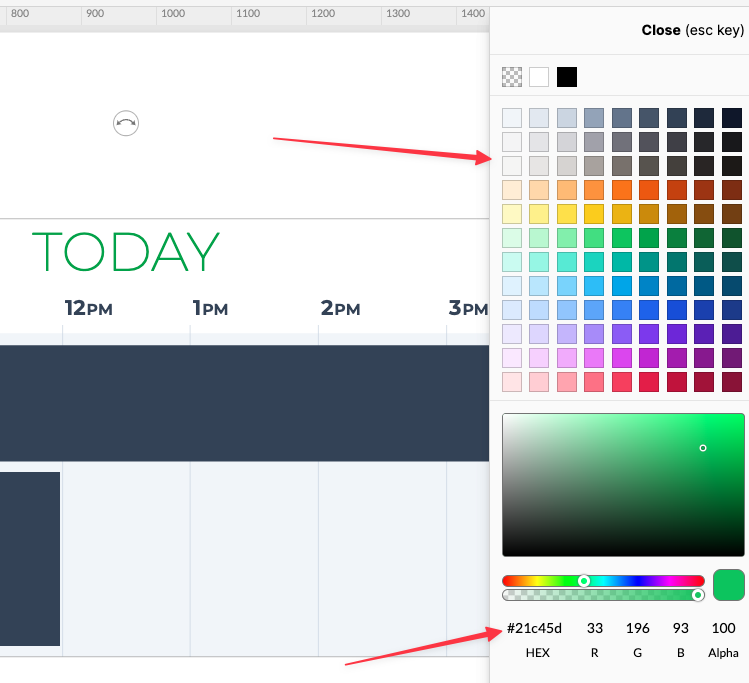
Click on the corresponding color swatch to bring up the color picker.
Then pick your color from the swatch library provided or enter in hex values at the bottom of the color picker.
Alternatively, selecting the lightning bolt icon next to the color swatch can connect your text color to a data source. Learn more about using a data source to drive dynamic colors and opacities
Changes to the size of a Calendar widget do not affect the size of the text components; rather text responds by spilling over to the next line when required.
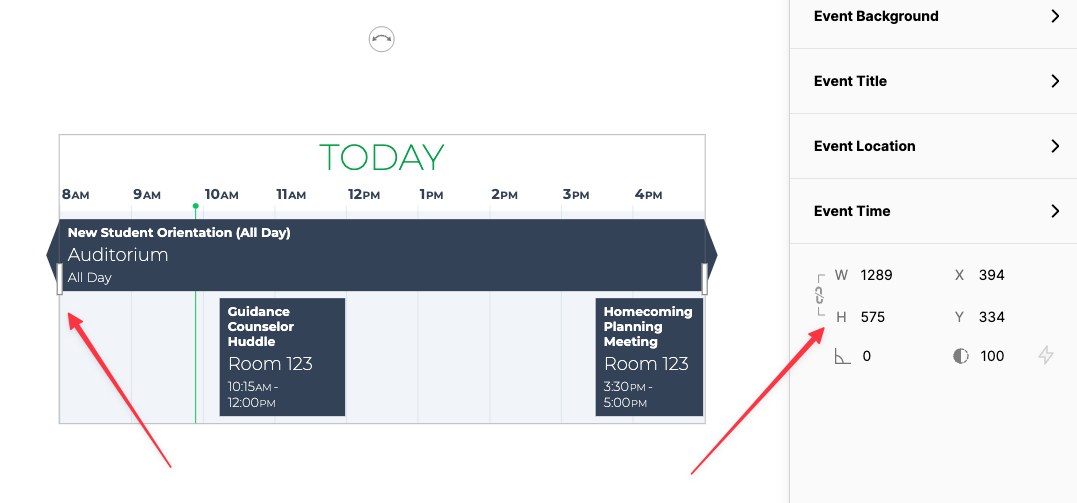
Adjusting the position of a calendar widget is relative to the canvas and can be either done through manual manipulation on the canvas or adjustment of the x and y parameters in the right hand properties menu.
Calendar widgets can be rotated either by clicking and dragging the rotation handle that appears above the widget or by entering a value into the right hand properties menu.
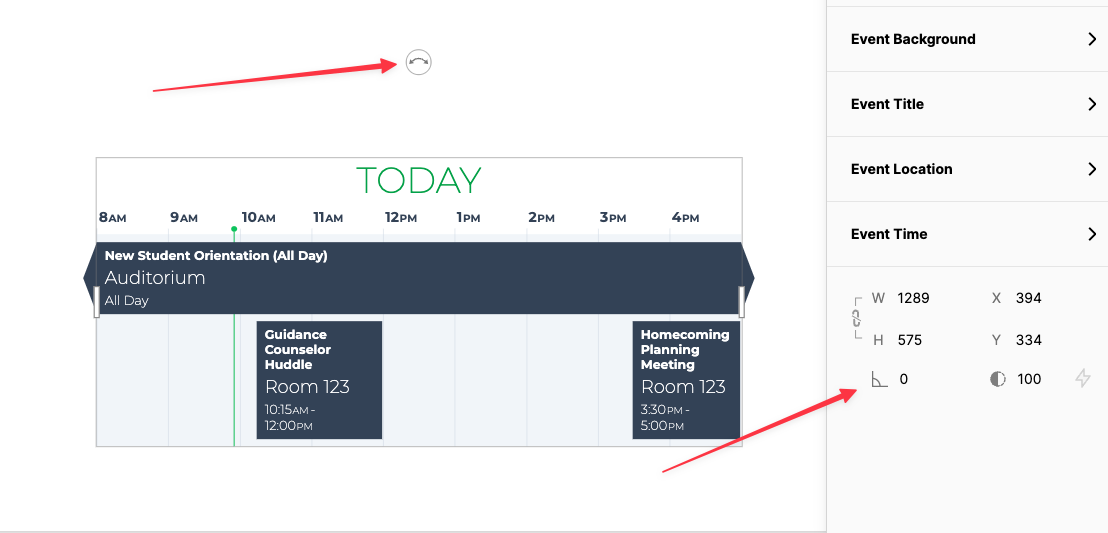
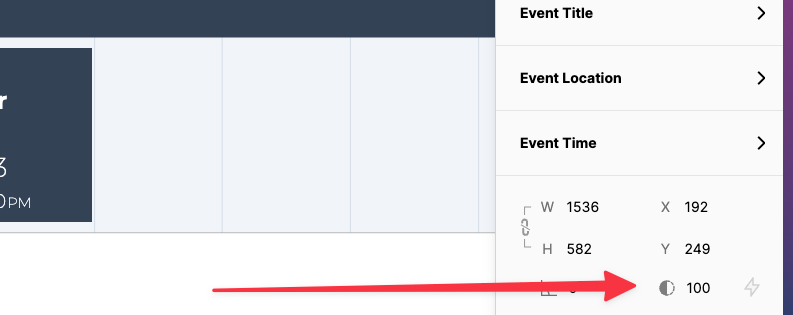
Changes to opacity at the bottom of the right hand properties menu will affect the entire widget. This setting can be connected to a data source, to learn more about dynamic opacity see Scalar Bindings in Connect.
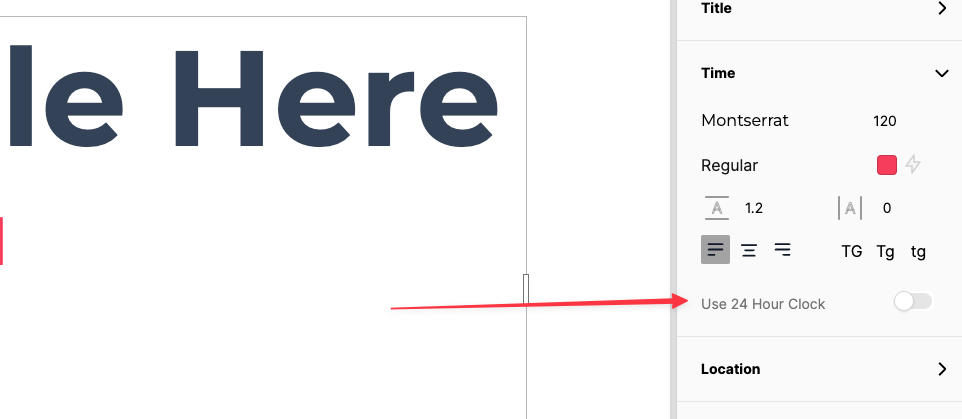
Calendar widgets also allow for the time of the event to appear in a 24 hour clock format. Use the 24 hour clock format by selecting Title from the right hand properties menu, then toggle Use 24 Hour Clock as shown in the image below.
Some properties have the option to show or hide the element altogether. For example in the Event widget, click on the Location label then click to toggle whether or not the event location is visible.
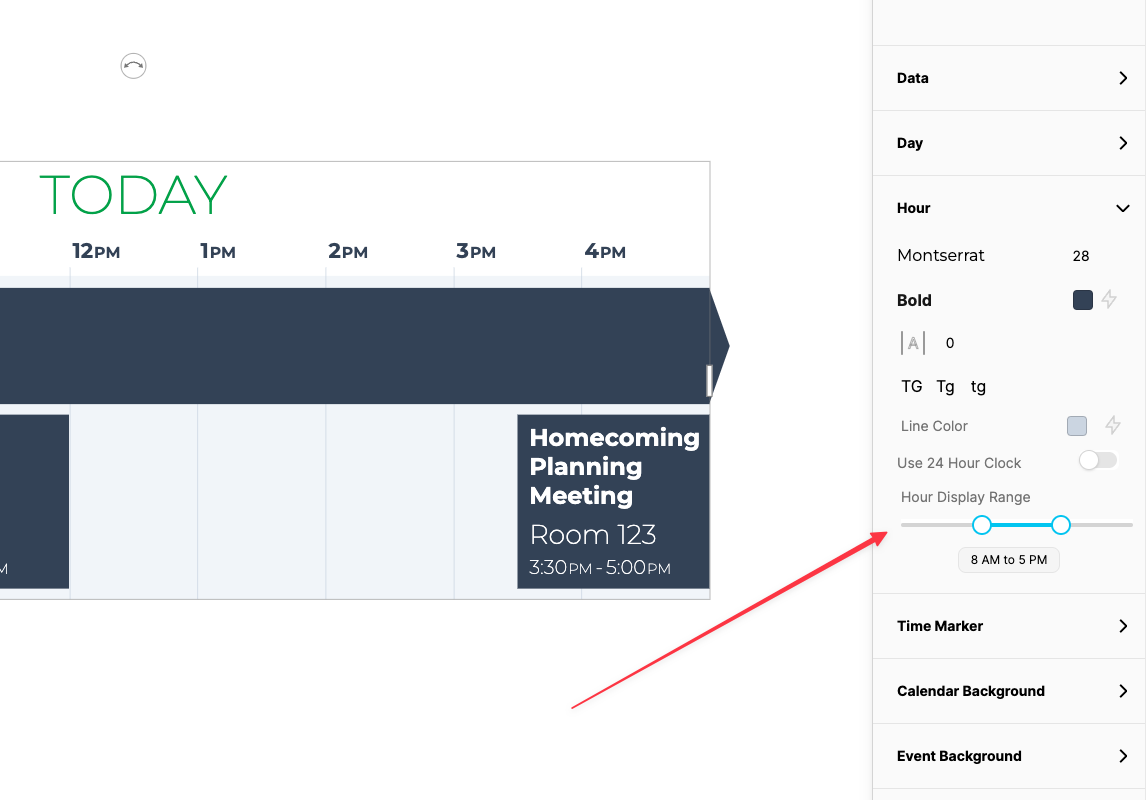
Calendar widgets such as day, week and agenda show a range of events over a period of time. This range can be defined by setting start and end times. In the Day widget, click and drag on the left slider in the Hour Display Range to adjust the start time and right slider to adjust the end time.
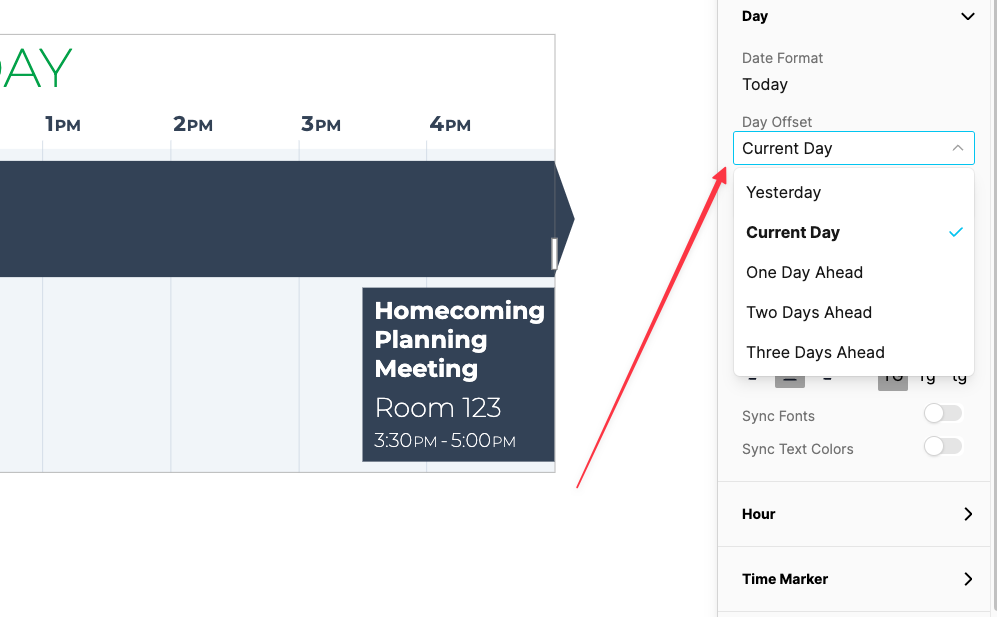
Calendars with a defined range of events can also display future events. You also can adjust the day or week shown in the widgets. For example in the Day widget, choose the Day label then click on the dropdown menu below Day Offset if you would like to show the previous, next day’s events, or events up to three days in advance.
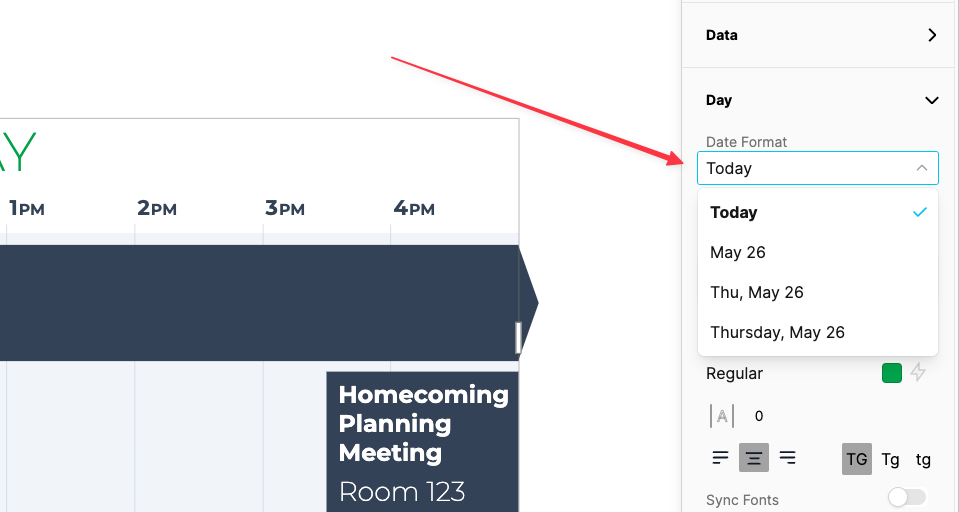
Set the date format for the date that shows in the top left corner of the Day widget by clicking on Day Title then the Date Format dropdown menu.
Check out what Widgets in Connect can do.
Not sure how to start? Get inspired Using pre-built Templates
Learn more about Connecting your Data
Support available between 9:00am and 5:00pm (CST-06:00), Monday through Friday


