Use a conditions to change your app design using defined logic in reaction to an external data source.
A condition is an “IF this THEN that” logic statement that allows you to set a modification to your App design based on data, time, day or weather conditions.
For example IF the given value is negative THEN change the text color to red.
Creating a Condition
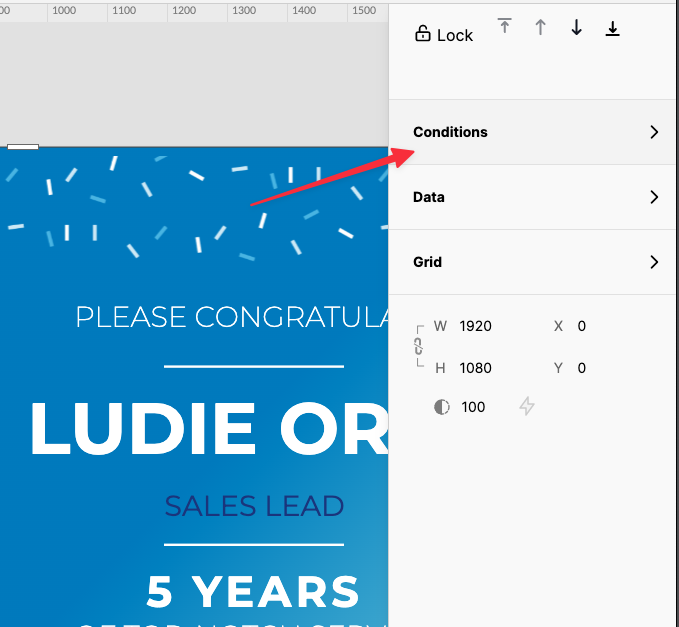
Select a component or widget on your app canvas. Then select conditions from the right hand panel.
Click the Add a Condition button to start building the IF statement part of the Condition.

You will see a window with explainer text, with a few things you should know before you get started.

You have the option to watch a 3 minute Tutorial video, Create a Condition or skip this information in the future.
Click Create a Condition.
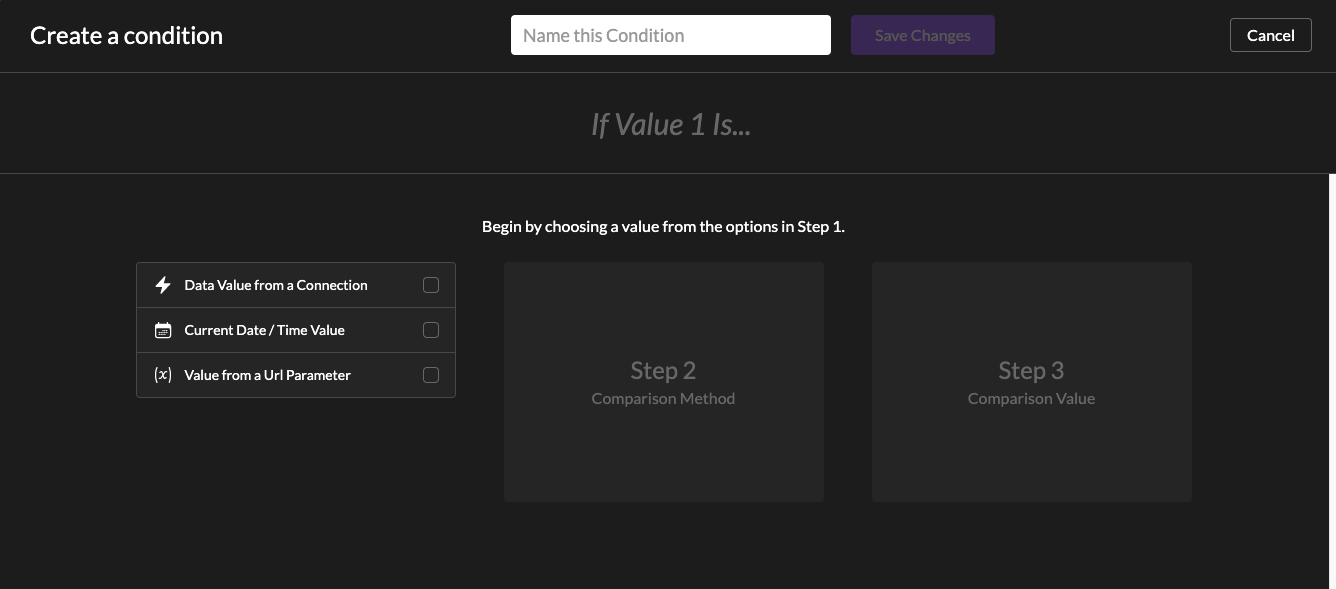
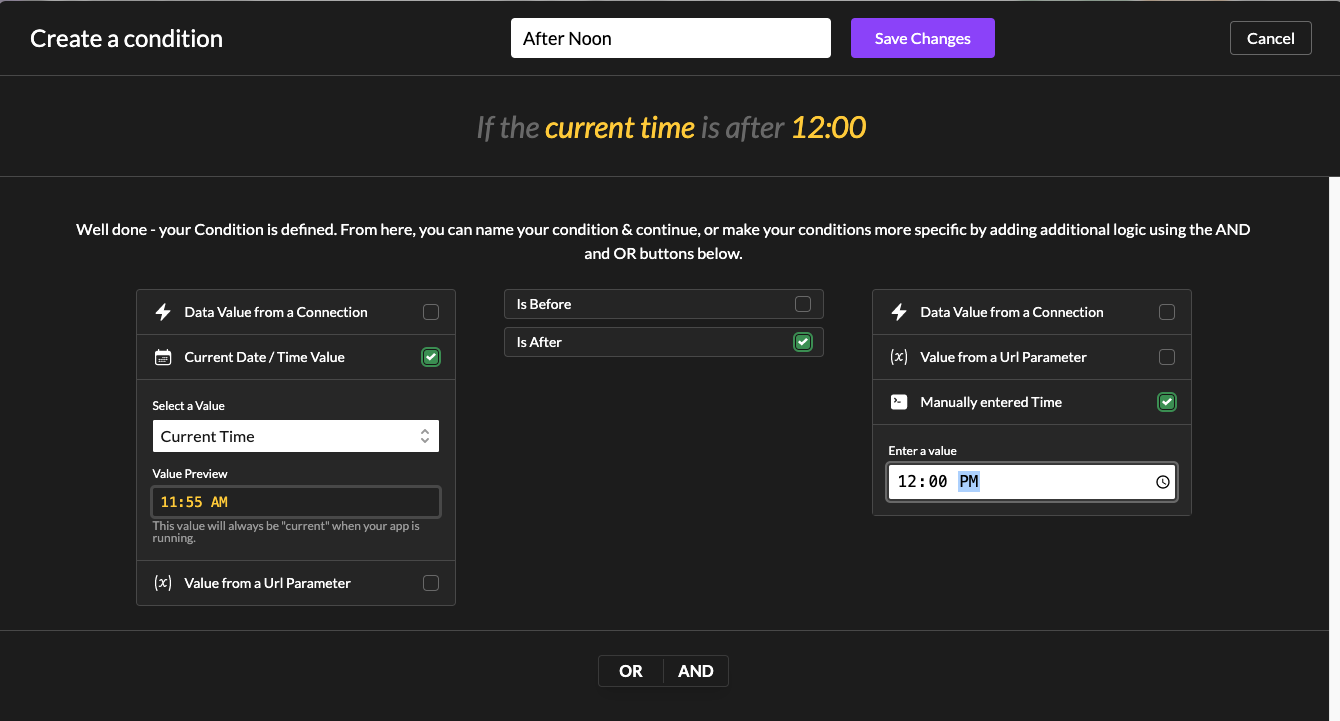
Begin by choosing Value 1 from the options on the left side of the window.
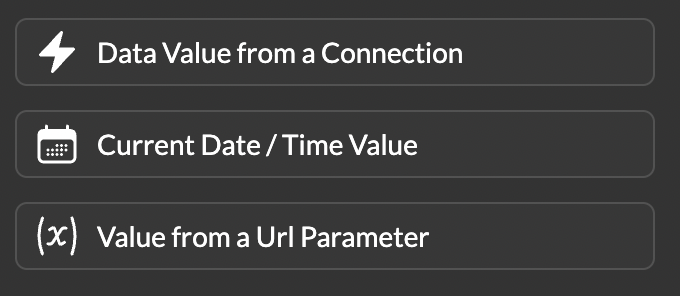
In this example CurrentDate/Time Value is selected.
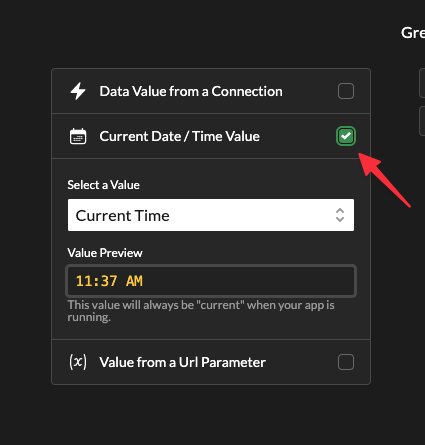
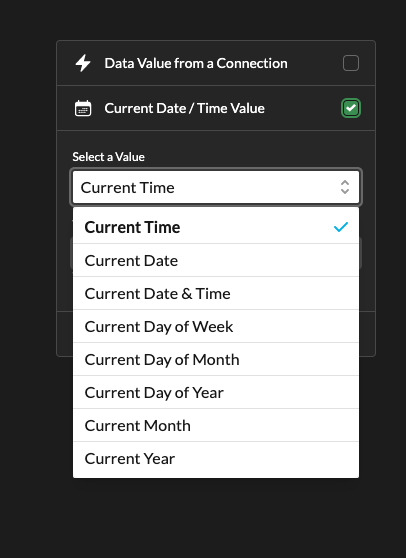
Clicking on the dropdown below select a value shows more options to choose from.
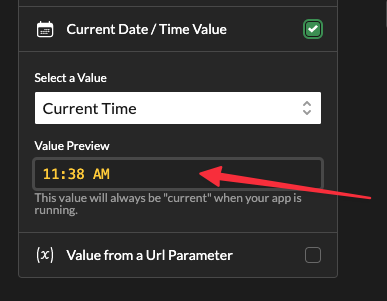
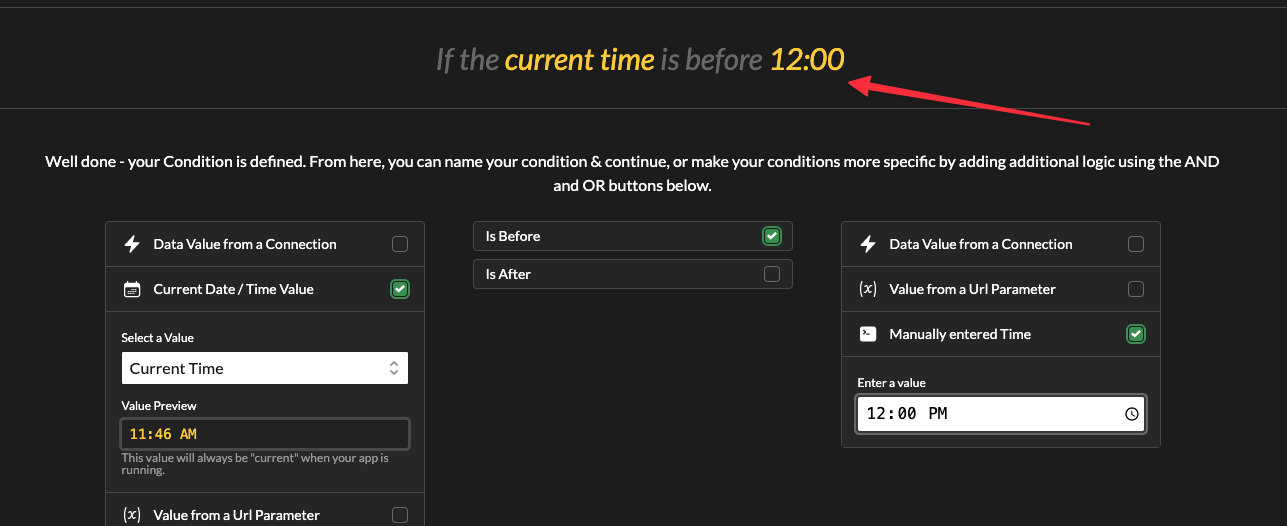
The Value Preview will show a preview of the current selection. In this case it is showing the current time of day in my time zone.
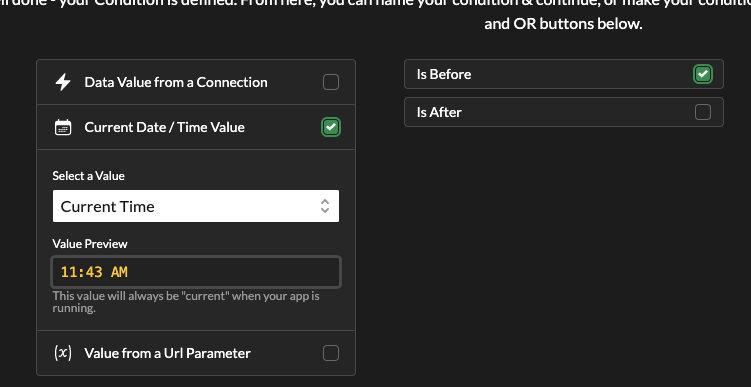
Next choose how to evaluate Value 1.
For example, we want to compare if the current time is before another data value.
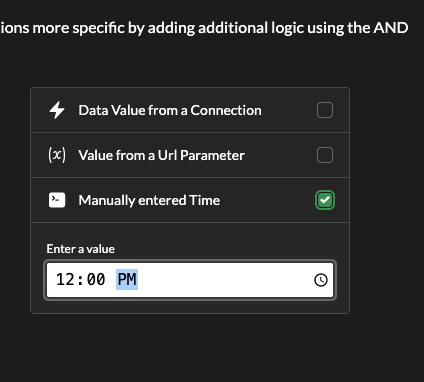
Finally, select the second value being compared to Value 1. Here I selected a Manually entered Time, then entered 12:00PM.
During this process you may notice a sentence is being built above your selections. This sentence shows your IF part of your condition.
Here is the IF statement sentence for our example.
At the top of the window name and save your condition, or you can make your conditions more specific by adding additional logic using the AND or OR buttons.

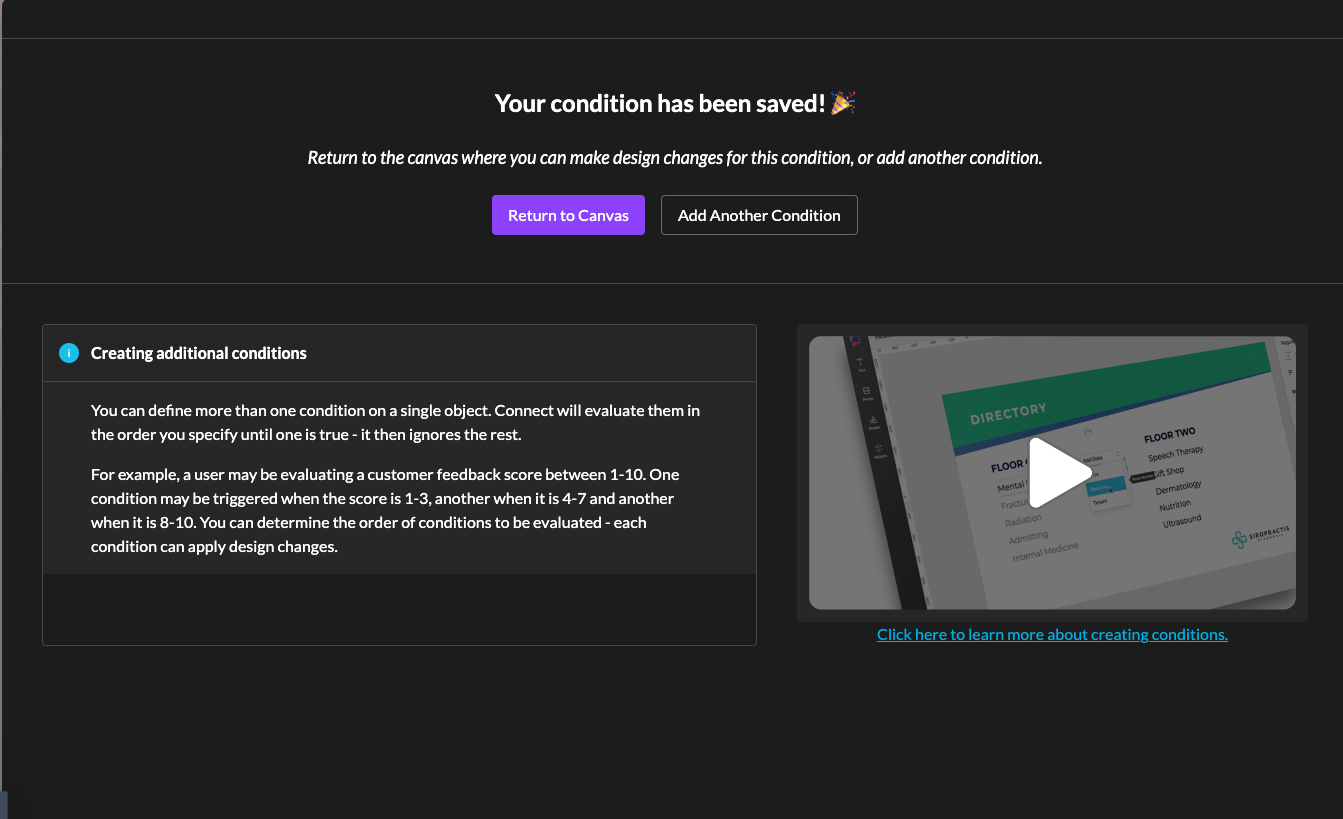
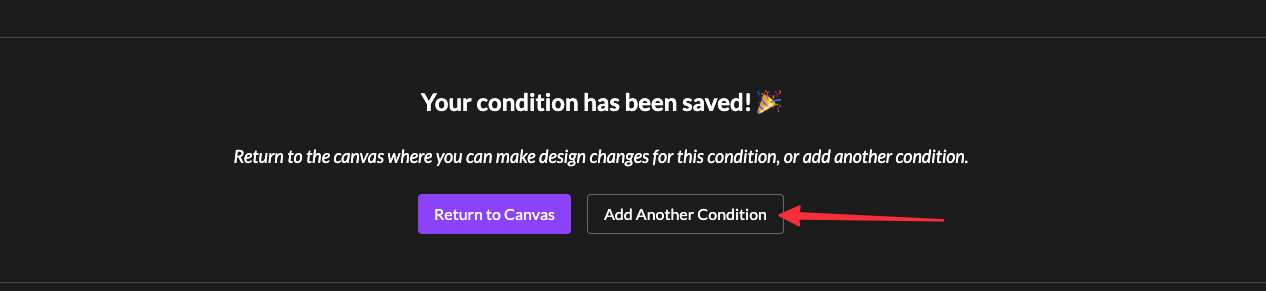
Once you have saved your condition you have the option to add more conditions or return to the canvas.
If you click on Add Another Condition.
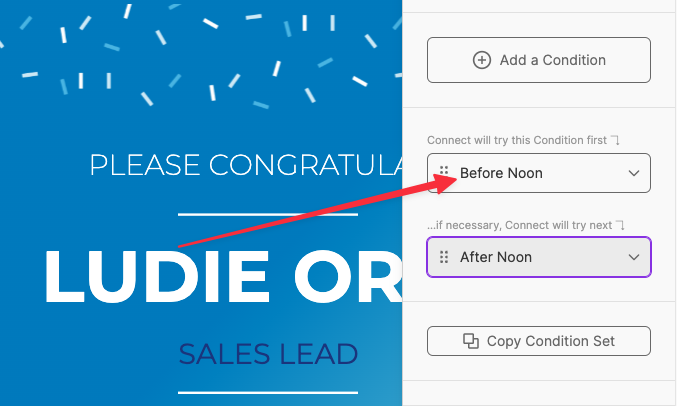
You can define more than one condition on a single object. Connect will evaluate them in the order you specify until one is true, it ignores the rest.
For example, a user may be evaluating a customer feedback score between 1-10. One condition may be triggered when the score is 1-3, another when it is 4-7 and another when it is 8-10. You can determine the order of conditions to be evaluated - each condition can apply design changes.
Click on Return to Canvas, Once satisfied with your condition creation.

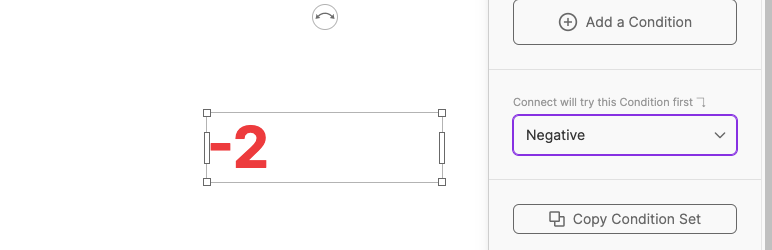
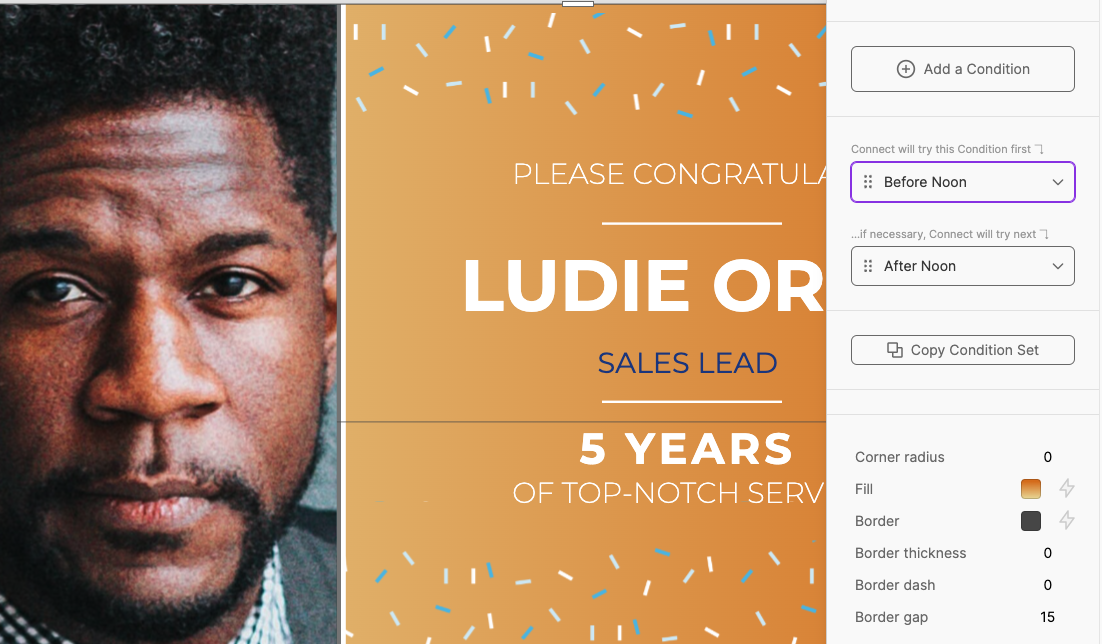
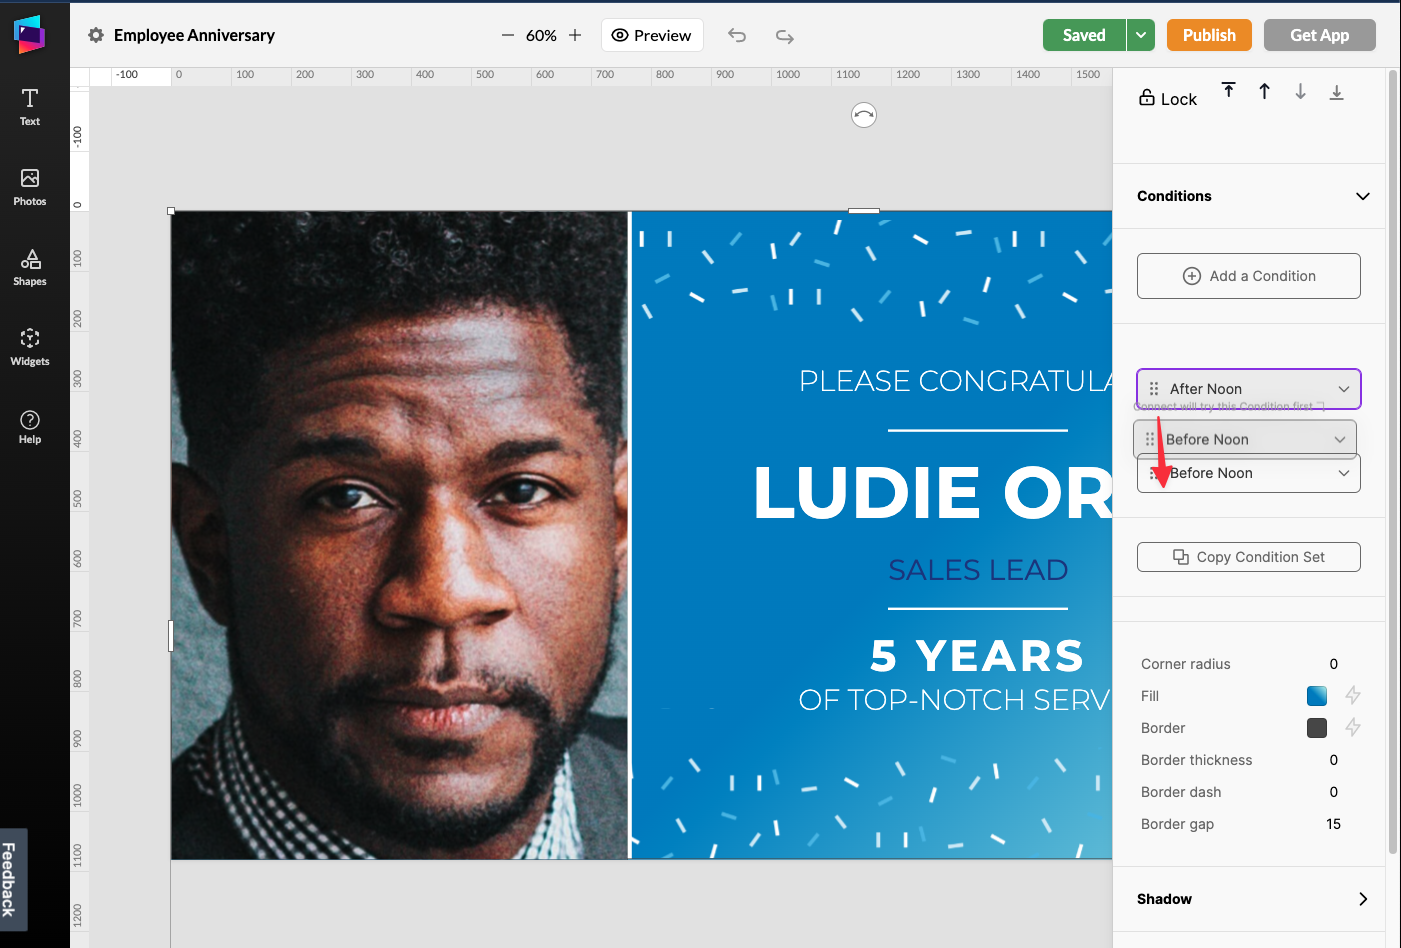
Now you should see your condition as you named it in the right hand panel.
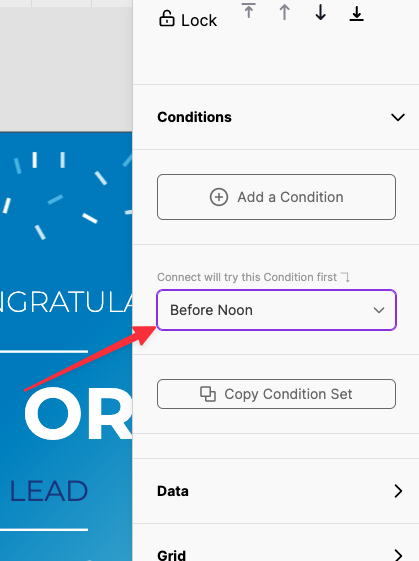
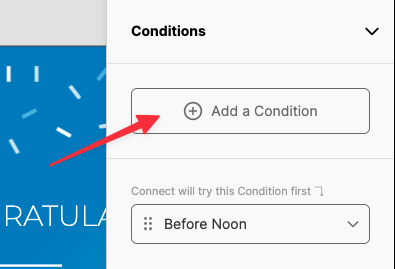
Click Add a Condition to add a new condition to make a condition set.
For example I created an Afternoon condition for when the current time is after 12:00pm.
Click on a condition, then make any design changes to your objects connected to that condition. This will define the” THEN that” part of the condition.
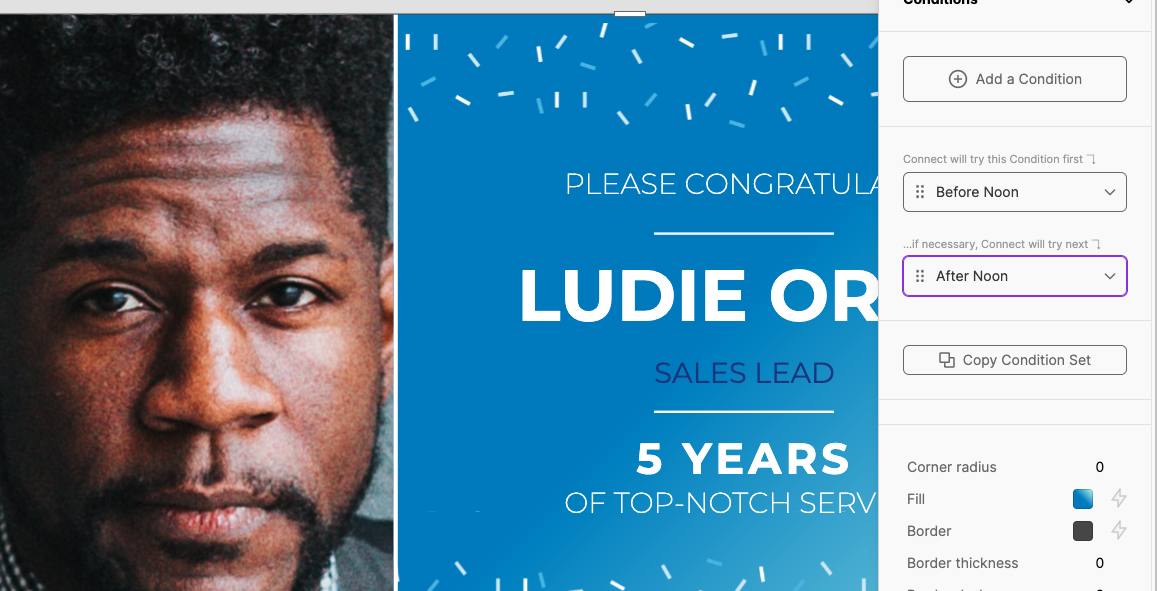
Switch between the conditions and you’ll be able to preview the changes.
In this example I want the background color to change.
The full condition will be: IF the current time is before noon THEN change the background color.
After selecting the Before Noon condition I selected the file properties of the shape component selected.
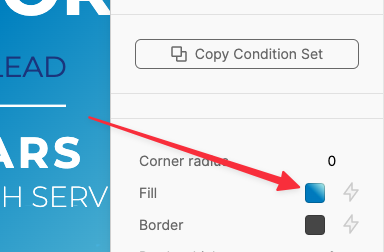
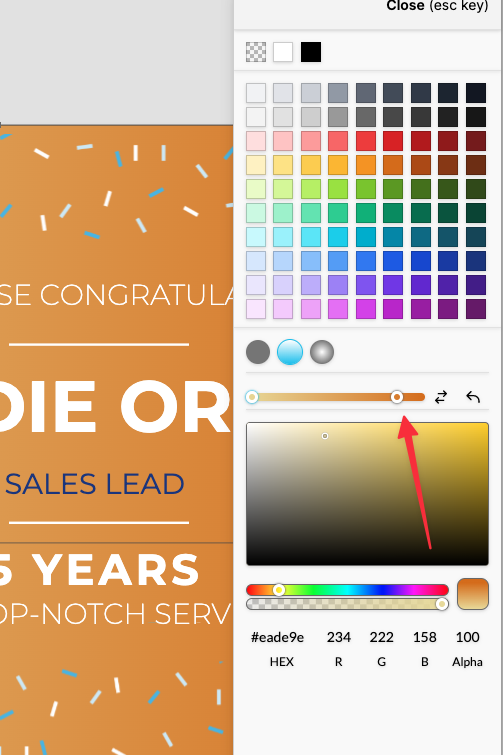
Then selected new colors from the color picker.
Click on the condition to toggle between
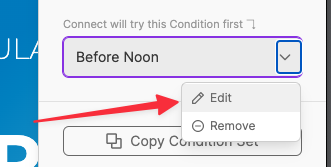
If you want to make changes to the condition IF statement click on the dropdown arrow next to the Condition name then click edit. You also can remove a condition from the selected component by clicking remove.
Click on the handle next to the condition name and drag to reorder the conditions.
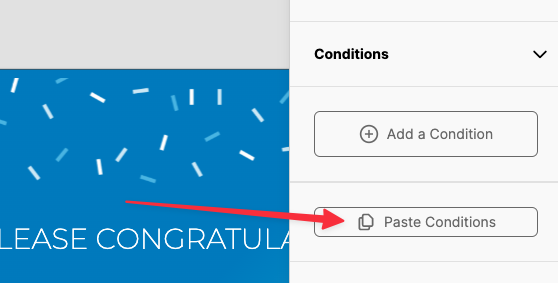
You can re-use conditions on other objects. Click the “Copy Condition Set”button.

Then select another object on the Canvas, open the Conditions tab and click “Paste Conditions”.
Support available between 9:00am and 5:00pm (CST-06:00), Monday through Friday


